
How to Create a Standard Radiology Report Template: A Step-by-Step Guide
Create a standard radiology report template that focuses on the clinical question, is easy to edit, and helps reduce reporting errors.
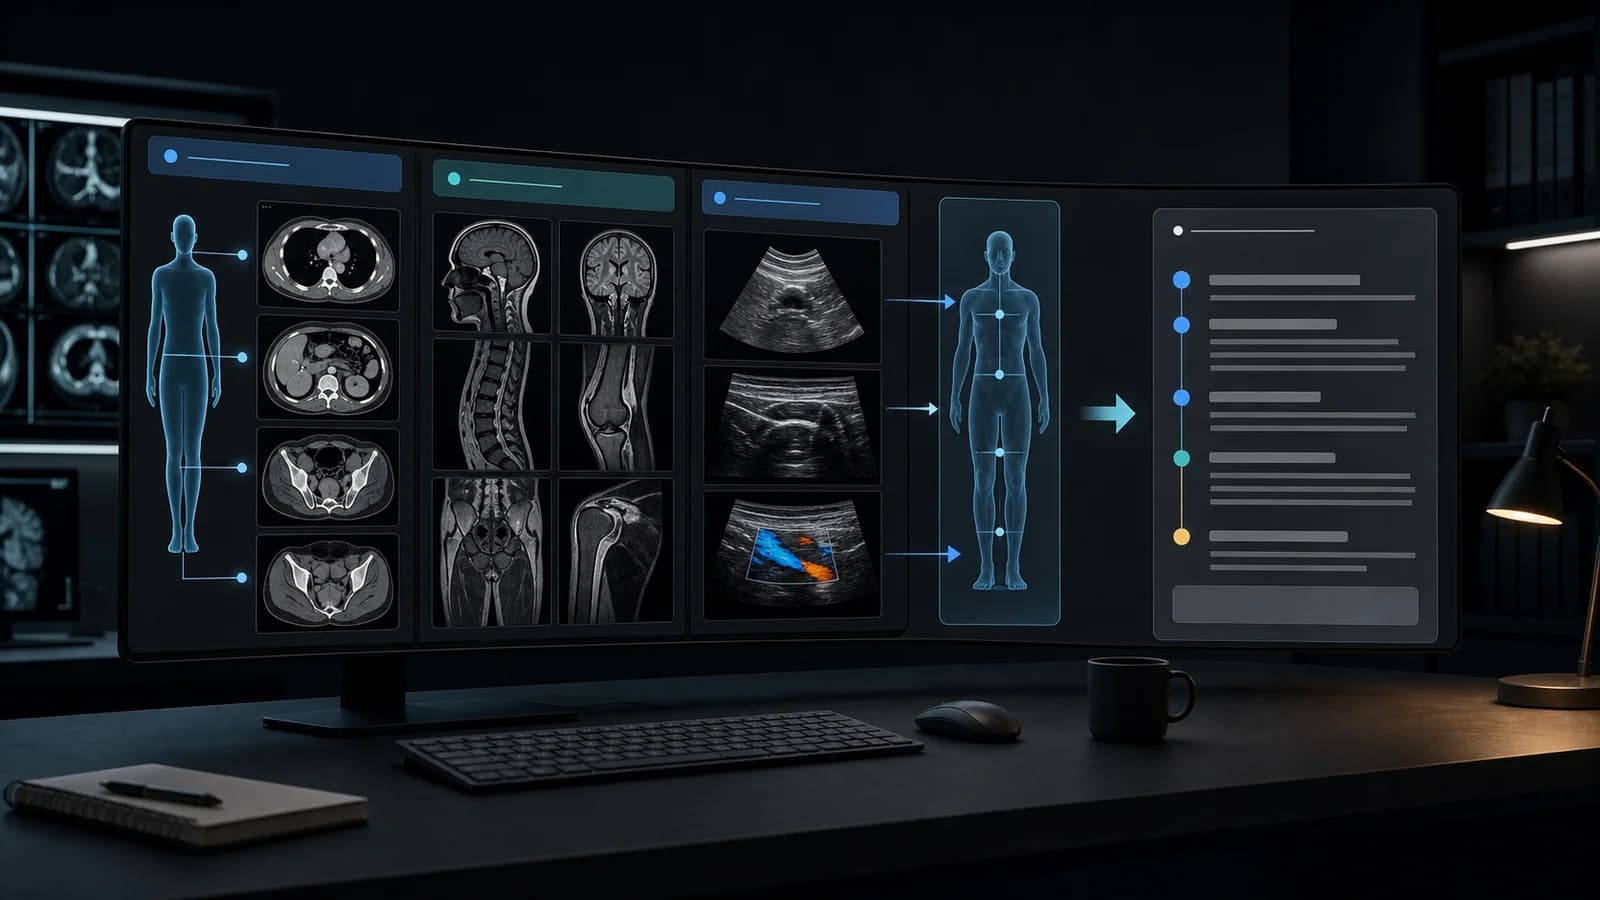
A good radiology report template does more than save typing time. It supports systematic image review, helps reduce omission of important areas, and allows the clinical message to be presented more consistently across reports.
A poorly designed template can do the opposite. It may make the report unnecessarily long, create errors through default normal statements, and hide important findings within excessive text.
The steps below show how to build a template that works in daily practice.
Before you begin: What is the template for?
The intended use should be defined before any template is created.
Answer the following questions:
- Which examination is the template for?
- In which patient population will it be used?
- Is it for routine, emergency, screening, or follow-up examinations?
- Will contrast-enhanced and noncontrast variants be separate?
- Does it address a specific clinical question or classification system?
- Which fields are required by the institution?
A broad label such as “abdominal CT” may be too general for a single template. The following variants have different requirements:
- Noncontrast urinary stone CT
- Portal venous phase abdominal CT
- Multiphase liver CT
- Trauma abdominal CT
- Postoperative abdominal CT
- Oncologic follow-up CT
The more clearly the template’s scope is defined, the fewer unnecessary fields and incorrect assumptions it will contain.
Step 1: Define the clinical question
A template should not simply list organs. It should be designed to answer the common clinical questions associated with the examination.
For example, the primary clinical question in a CT pulmonary angiography template is acute pulmonary embolism. The following elements should therefore be prominent:
- Adequacy of pulmonary arterial opacification
- Presence and most proximal level of thromboembolism
- Findings of right heart strain
- Pulmonary infarction or related parenchymal findings
- Alternative acute thoracic abnormalities
Including every detail from a routine chest CT template at the same level of prominence may distract from the emergency question.
Step 2: Define the core top-level structure
The following sections provide a sufficient starting point for most templates:
Indication
Includes the clinical question and relevant concise information. The referral text may need to be meaningfully summarized rather than copied automatically.
Technique
Describes the protocol, contrast administration, and important limitations affecting diagnostic assessment.
Comparison
The date and type of prior examination should be stated clearly whenever possible. “Compared with prior imaging” may be insufficient on its own.
Findings
Uses a systematic sequence appropriate for the examination.
Impression
Synthesizes the important diagnostic messages in order of priority.
Additional fields may be included according to institutional requirements, but every field should add real value to the report.
Step 3: Convert the image-review sequence into the report sequence
A template works more effectively as a checklist when it follows the way the examination is actually reviewed.
For example, a possible sequence for a complete abdominal ultrasound is:
- Liver
- Portal and hepatic veins
- Gallbladder and bile ducts
- Pancreas
- Spleen
- Kidneys
- Urinary bladder
- Pelvic organs, depending on the indication
- Aorta and visible retroperitoneal structures
- Free fluid
The sequence may vary by department and practice. What matters is that the template and the real image-review workflow support each other.
Step 4: Separate required, conditional, and optional fields
Not every field should have the same status.
Required fields
Core elements that must be reviewed in every examination.
Conditional fields
Sections that should appear only when a specific finding or clinical situation is present.
Examples:
- Attenuation and washout fields when an adrenal mass is present
- Maximum diameter and branch-vessel relationship when an aortic aneurysm is present
- Right-to-left ventricular ratio and embolus level when pulmonary embolism is present
Optional fields
Details that can be added according to examination coverage or clinical relevance.
Keeping conditional fields visible in every default report makes the template unnecessarily long and increases the risk that they will be completed incorrectly.
Step 5: Choose a default-text strategy
Templates can be designed using three basic approaches.
Blank-field approach
The headings are present, and the user completes every field.
Advantage: Lower risk of leaving an incorrect normal statement in the report. Limitation: May require more typing.
Default-normal approach
The template opens with normal statements, which the user edits according to the pathology.
Advantage: Fast for normal examinations. Limitation: Unedited false-negative statements can become a serious source of error.
Selectable-phrase approach
The user actively chooses a normal, negative, or positive variant.
Advantage: Encourages deliberate insertion of each sentence. Limitation: May require excessive clicking if the interface is poorly designed.
One of the safer practices with text-expansion tools is to actively call short phrases as needed instead of automatically inserting a long normal report.
Step 6: Write sentences that are short and easy to edit
Template sentences should be easy to adapt to the individual case.
Difficult-to-edit sentence:
Both kidneys are normal in location and size, with normal parenchymal thickness, echogenicity, and central sinus structures, and no dilatation of the pelvicalyceal systems or echogenic focus compatible with a calculus is identified within their lumina.
More editable approach:
The kidneys are normal in size and location. Parenchymal thickness and echogenicity are normal. No pelvicalyceal dilatation or calculus is identified.
In the second example, changing only the pathological component is easier. Short sentences also make speech-recognition and text-expansion errors easier to detect.
Step 7: Design placeholders safely
Variable fields such as measurements, laterality, dates, and categories should be clearly visible.
Weak placeholder:
The lesion measures ... mm.
More visible placeholder:
[SIZE: __ × __ mm]
Alternatively, use a mandatory field when the reporting system supports it.
Placeholders should be easy to search for before report finalization. Ellipses or ambiguous characters may remain unnoticed in the final report.
Common variables that require checking include:
- Right / left
- Segment / lobe
- Measurement
- Comparison date
- Prior measurement
- Category or grade
- Follow-up interval
- Recommended modality
Step 8: Select negative statements according to the clinical question
Listing every possible negative finding does not automatically make a report safer. The value of a negative statement comes from answering the clinical question.
For example, the following negative findings may be relevant in an assessment for acute aortic syndrome:
- No dissection flap.
- No intramural hematoma.
- No penetrating atherosclerotic ulcer.
- No evidence of rupture or periaortic hematoma.
Numerous clinically irrelevant normal anatomical details do not need to be transferred into the impression.
Step 9: Keep the impression partly independent from the template
The impression should not be an automatic copy of the findings. A useful template framework may include:
- Primary diagnostic conclusion
- Additional urgent or management-changing finding
- Clinically meaningful incidental finding
- Justified recommendation
Example:
1. Acute thromboembolism in segmental pulmonary arterial branches of the right lower lobe. 2. Increased right-to-left ventricular ratio; clinical and echocardiographic assessment for right heart strain may be considered. 3. Small peripheral wedge-shaped opacity in the right lower lobe, possibly representing pulmonary infarction.
This structure makes the main message visible in the first line.
Step 10: Add deletion rules to the template
A template should define which text is added and which text must be deleted in specific circumstances.
Example rules:
- If a pleural effusion is present, delete the sentence stating “No pleural effusion.”
- If an organ cannot be assessed, delete the normal statement and add the limitation.
- If no contrast was administered, delete technique text relating to contrast-enhanced phases.
- If no prior examination is available, delete interval-change statements.
- A recommendation in the impression must not remain unless it has been verified against current guidance and the clinical context.
These rules should be visible in user training and template documentation.
Step 11: Test the template with real cases
Before deployment, the template should be tested on a normal examination and across other relevant scenarios:
- Completely normal examination
- One simple abnormality
- Multiple concurrent abnormalities
- Technically limited examination
- Postoperative anatomy
- Urgent critical finding
- Significant interval change
- Rare case that does not fit the template
During each test, ask:
- Did any incorrect normal statement remain?
- Is the important finding sufficiently visible?
- Is the template unnecessarily long?
- Does the impression answer the clinical question?
- Does editing take longer than reporting manually?
Step 12: Create a versioning and update plan
Report templates should not be created once and then forgotten. Classification systems, follow-up recommendations, institutional protocols, and technical practices can change.
The following information is useful for each template:
- Template name
- Version number
- Date of last review
- Responsible editor or team
- Guideline version on which it is based
- Summary of changes
Templates that automatically generate categories or follow-up recommendations require regular clinical content review in particular.
Example of a minimal template framework
The framework below is not clinical content intended for direct use in a specific examination. It illustrates template-design logic.
INDICATION: [Clinical question]

TECHNIQUE: [Modality, protocol, contrast, important limitation]

COMPARISON: [Date and examination type / No prior examination]

FINDINGS: [Examination-specific systematic sequence]

IMPRESSION:

1. [Primary diagnostic message]
2. [Additional management-changing finding]
3. [Specific and justified recommendation, if needed]
Quality control before deployment
- Are the template’s scope and use case clear?
- Have technique fields been separated into the correct variants?
- Are the normal statements genuinely necessary?
- Will placeholders be noticeable in the final report?
- Are there checks for laterality and measurement errors?
- Can positive and negative statements easily contradict each other?
- Does the impression allow active synthesis?
- Is it easy to leave the template in a complex case?
- Are the source and version details recorded?
In daily practice
A good radiology report template is not the template with the greatest number of sentences. The best template keeps the clinical question visible, reminds the user of key assessment areas, can be rapidly adapted to the case, and reduces the risk of leaving incorrect default text in the final report.
A template should be designed as a framework for thinking and communication, not as an automatic report generator. The radiologist’s core value lies not in filling fields, but in prioritizing findings correctly and translating them into a meaningful clinical conclusion.
References
- Radiological Society of North America. RadReport reporting templates (opens in a new tab).
- Larson DB, Towbin AJ, Pryor RM, Donnelly LF. Improving Consistency in Radiology Reporting through the Use of Department-wide Standardized Structured Reporting (opens in a new tab). Radiology. 2013.
- Larson DB, et al. Strategies for Implementing a Standardized Structured Radiology Reporting Program (opens in a new tab). RadioGraphics. 2018.
- American College of Radiology. ACR Practice Parameter for Communication of Diagnostic Imaging Findings (opens in a new tab). Revised 2025.
Clinical use note
This content is educational and is not patient-specific medical advice. Every phrase, template, classification result, and recommendation must be verified and adapted by a physician using the complete examination, clinical context, current guidelines, and institutional protocol.
Make your reporting language more consistent
Add curated phrases and editable templates to your workflow to support a clearer shared reporting language.
Related calculators
Browse the other checklists, phrase sets, and systematic approaches in this topic.